
Hubspot CRM
Introduction
Welcome to our guide on integrating your chatbot with HubSpot. This seamless integration empowers you to streamline customer interactions, capture valuable leads, and optimize marketing and sales efforts. Whether you’re a seasoned user or new to chatbots, this document will walk you through the setup and advanced configurations, unlocking the full potential of your chatbot and HubSpot integration. Let’s get started!
Availability
It is available under Integrations > Cloud Integrations > Hubspot
Setup
Step 1: Creating an account on HubSpot
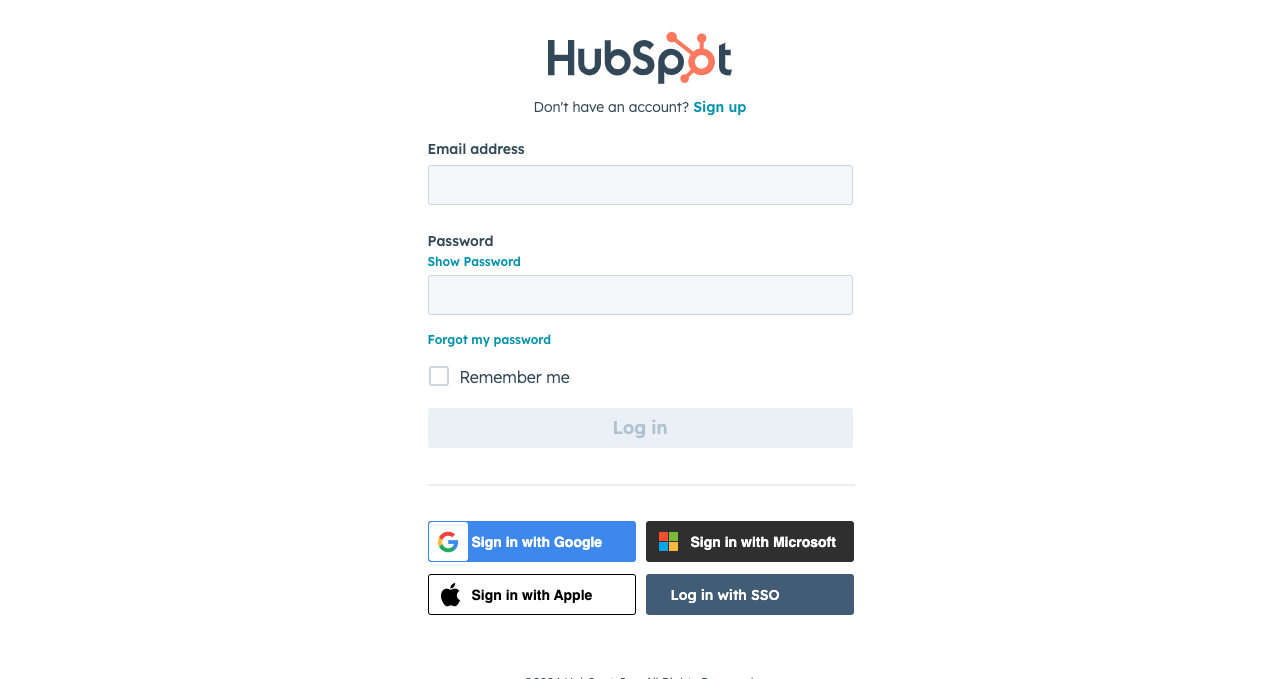
To link your bot with your HubSpot account, it’s essential to have a HubSpot account set up.You can create a new account on HubSpot using any preferred method or log in with your existing account credentials.
Step 2: Hubspot configuration on Engati account
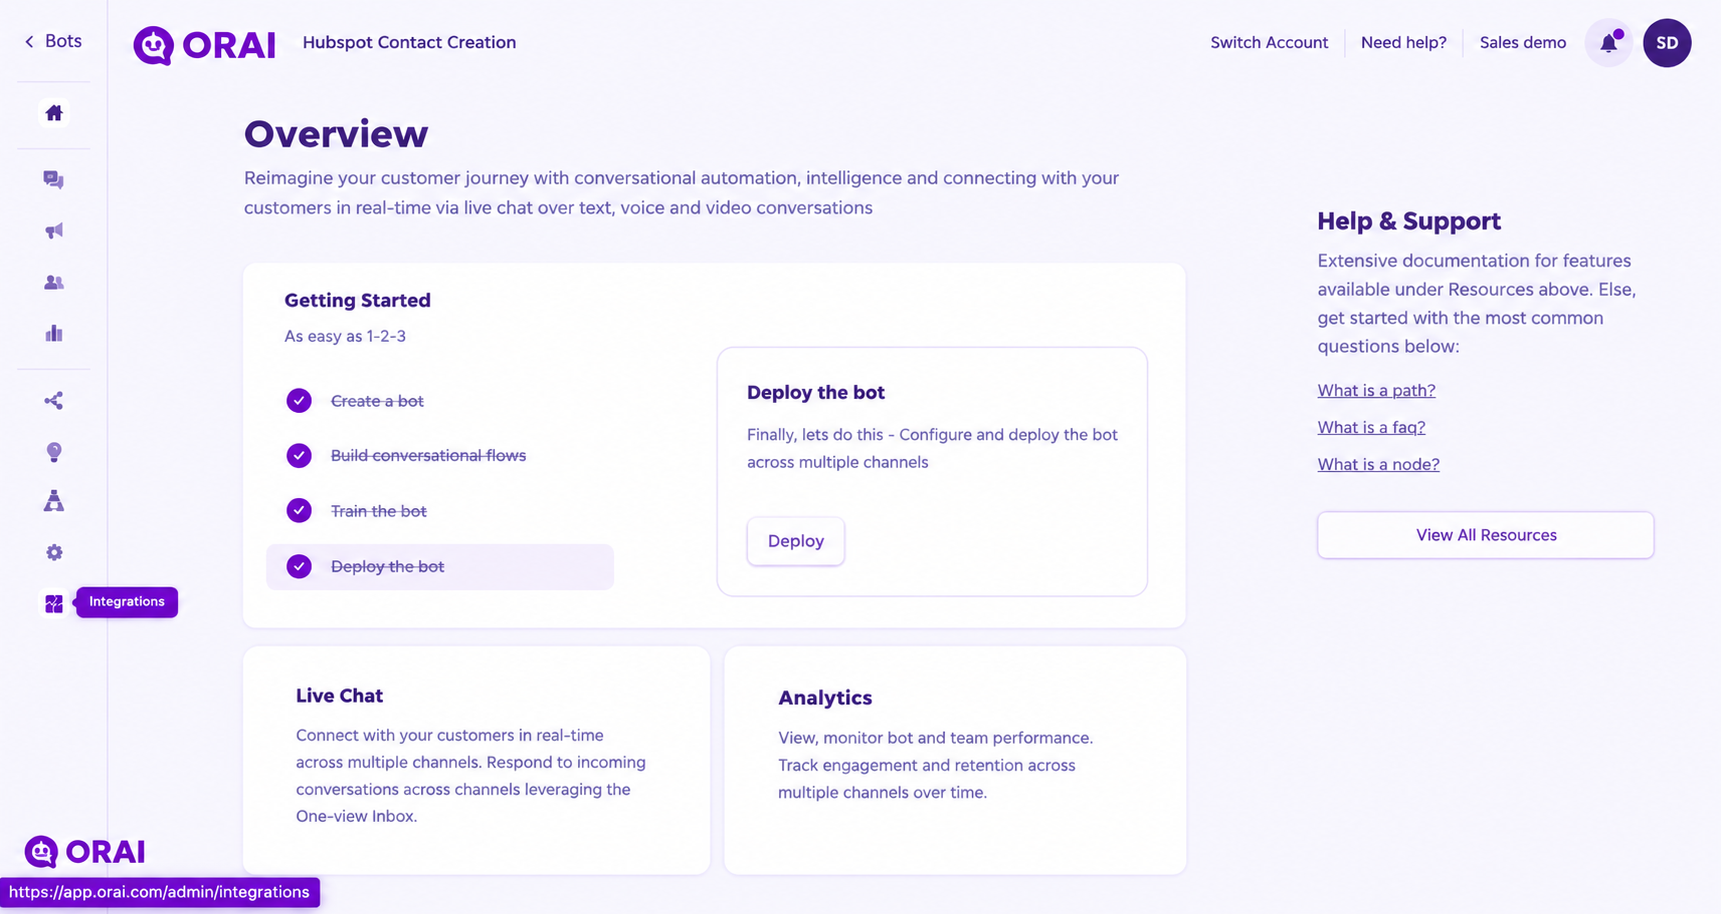
1.Access your Orai account and navigate to the “Integrations” section located in the left menu panel.
2. In the “Integrations” menu, select “Cloud Integrations” and scroll down until you locate the Hubspot option.
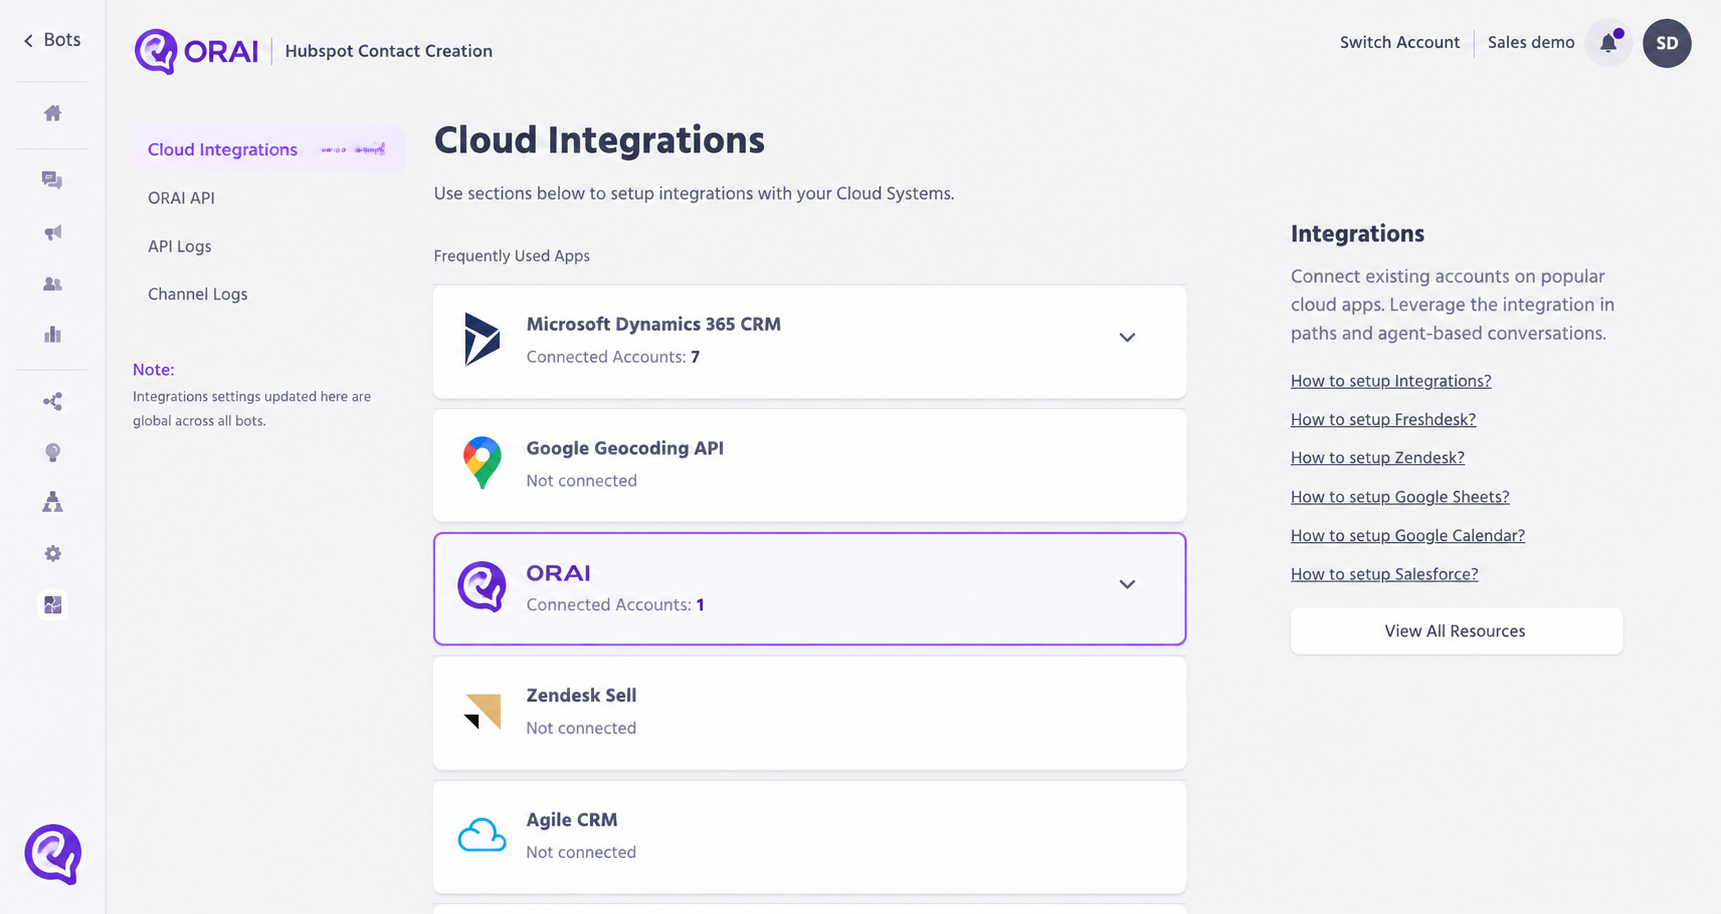 3. Click on “Add Account” and then proceed to select “Continue” on the authorization access disclaimer tab.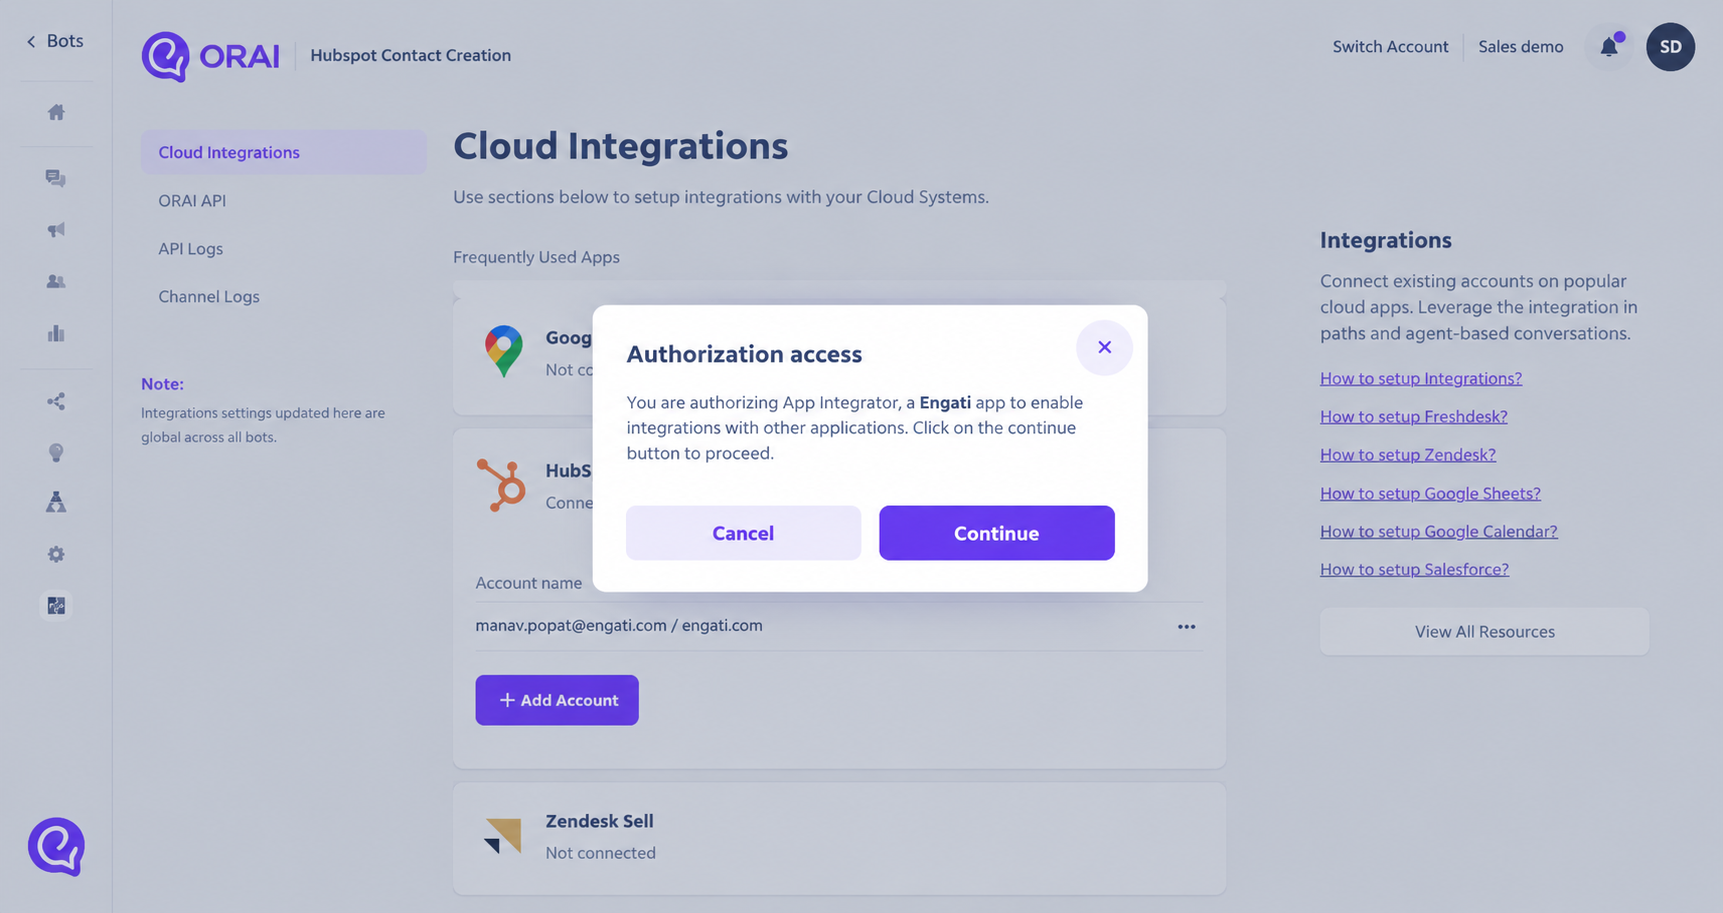
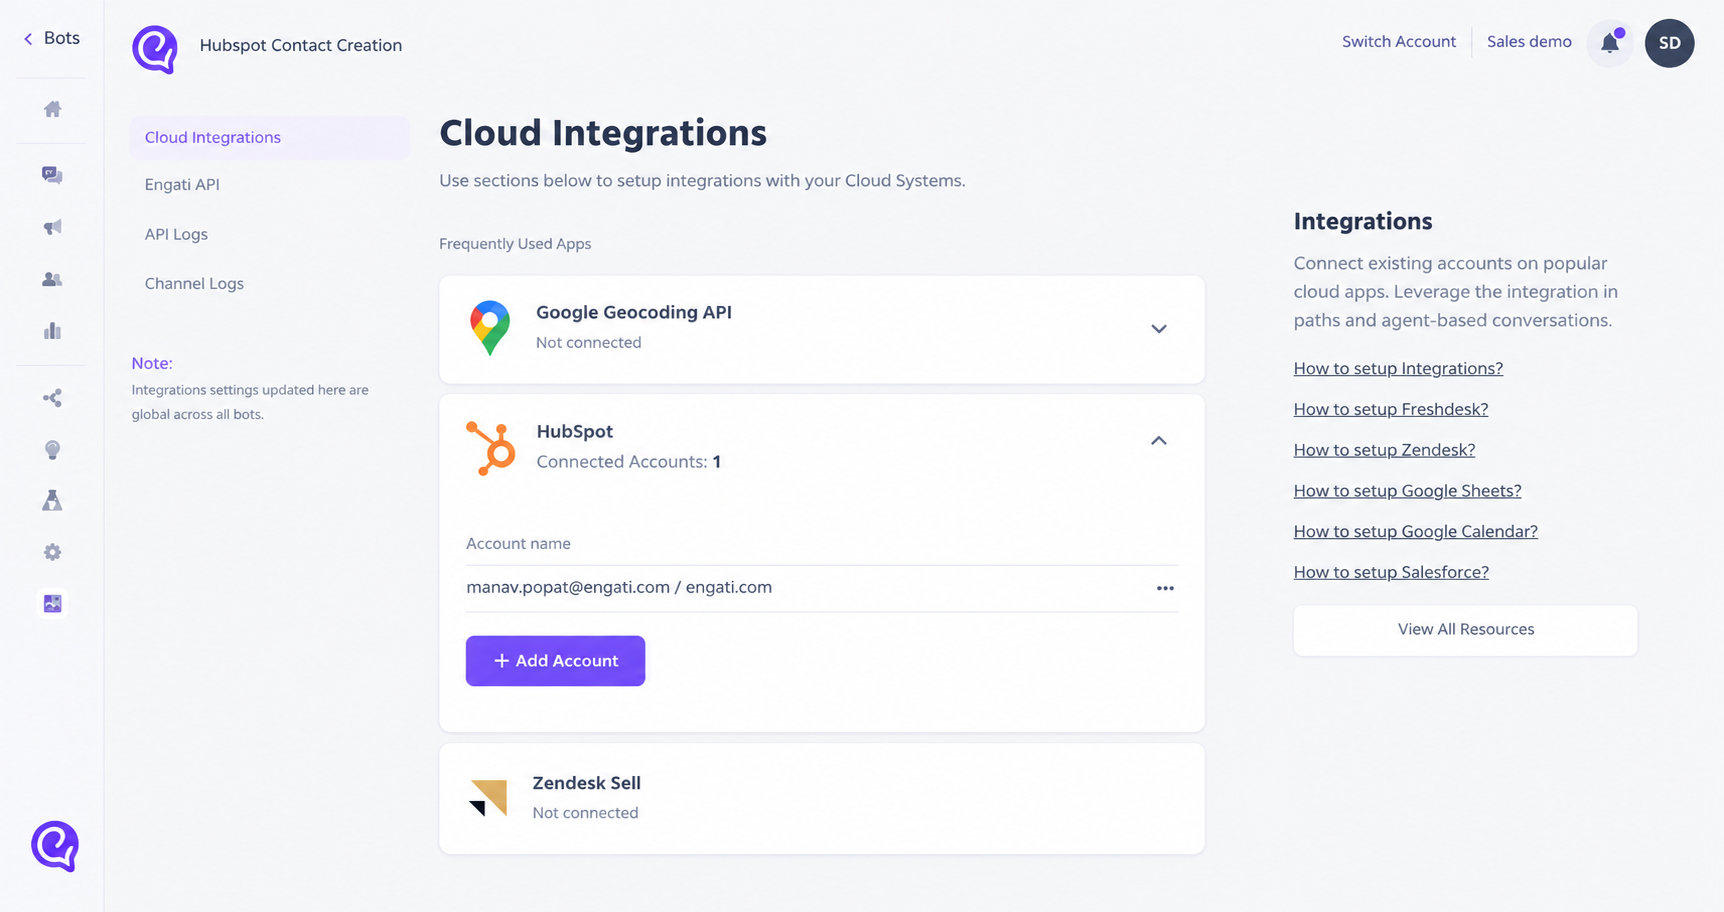
4. After selecting the “Hubspot” option, you’ll be redirected to a new tab where you can choose the appropriate region.
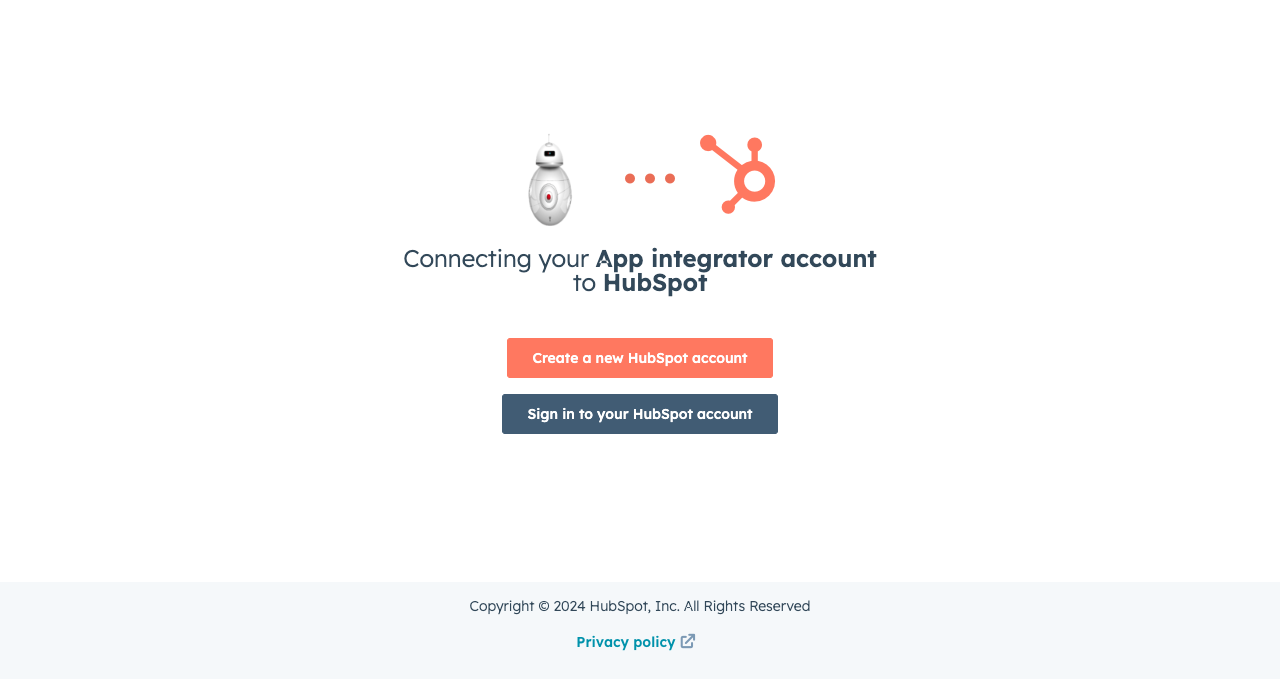
5. In a case where you have not logged in to your hubspot account, it will display the below screen to help you in creating a new account or to log in with the existing account.
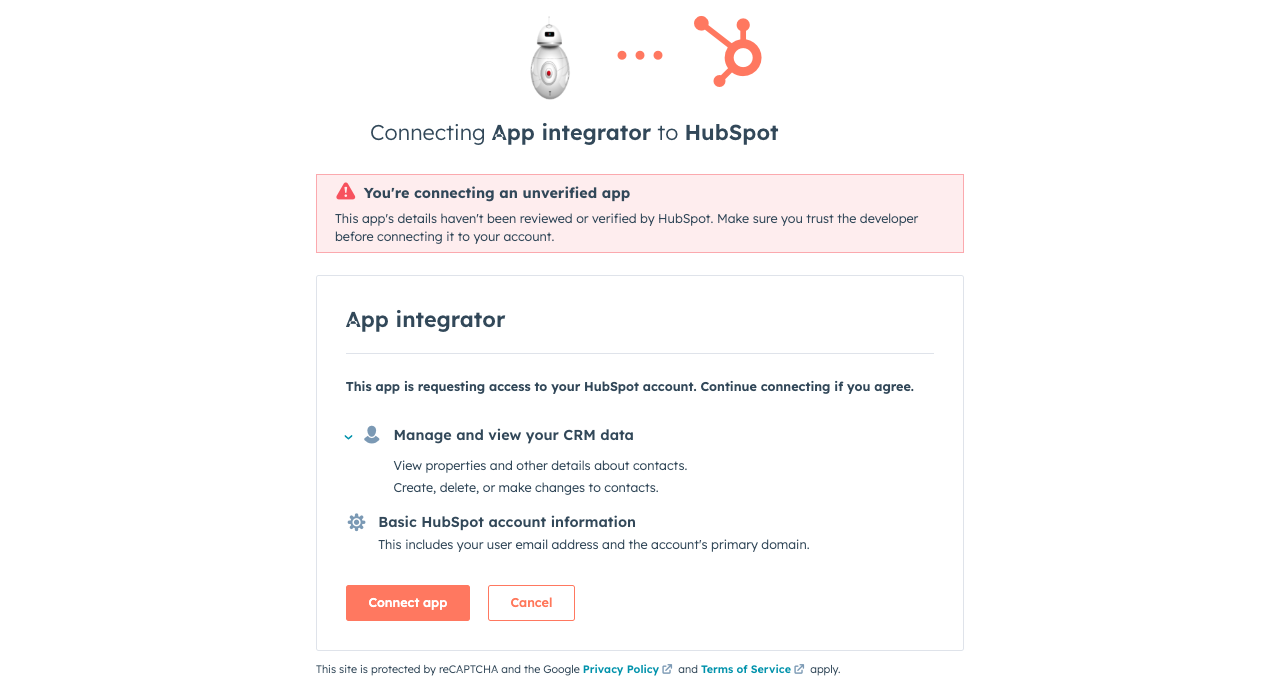
6. Once you create or log in to the existing account, you’ll be asked to choose the same account as shown below.You’ll be redirected to the Hubspot portal to grant permission to access your data. Simply click on “Connect app” to continue.
8. You will receive a pop-up on your Orai account upon successfully connecting your Hubspot account.
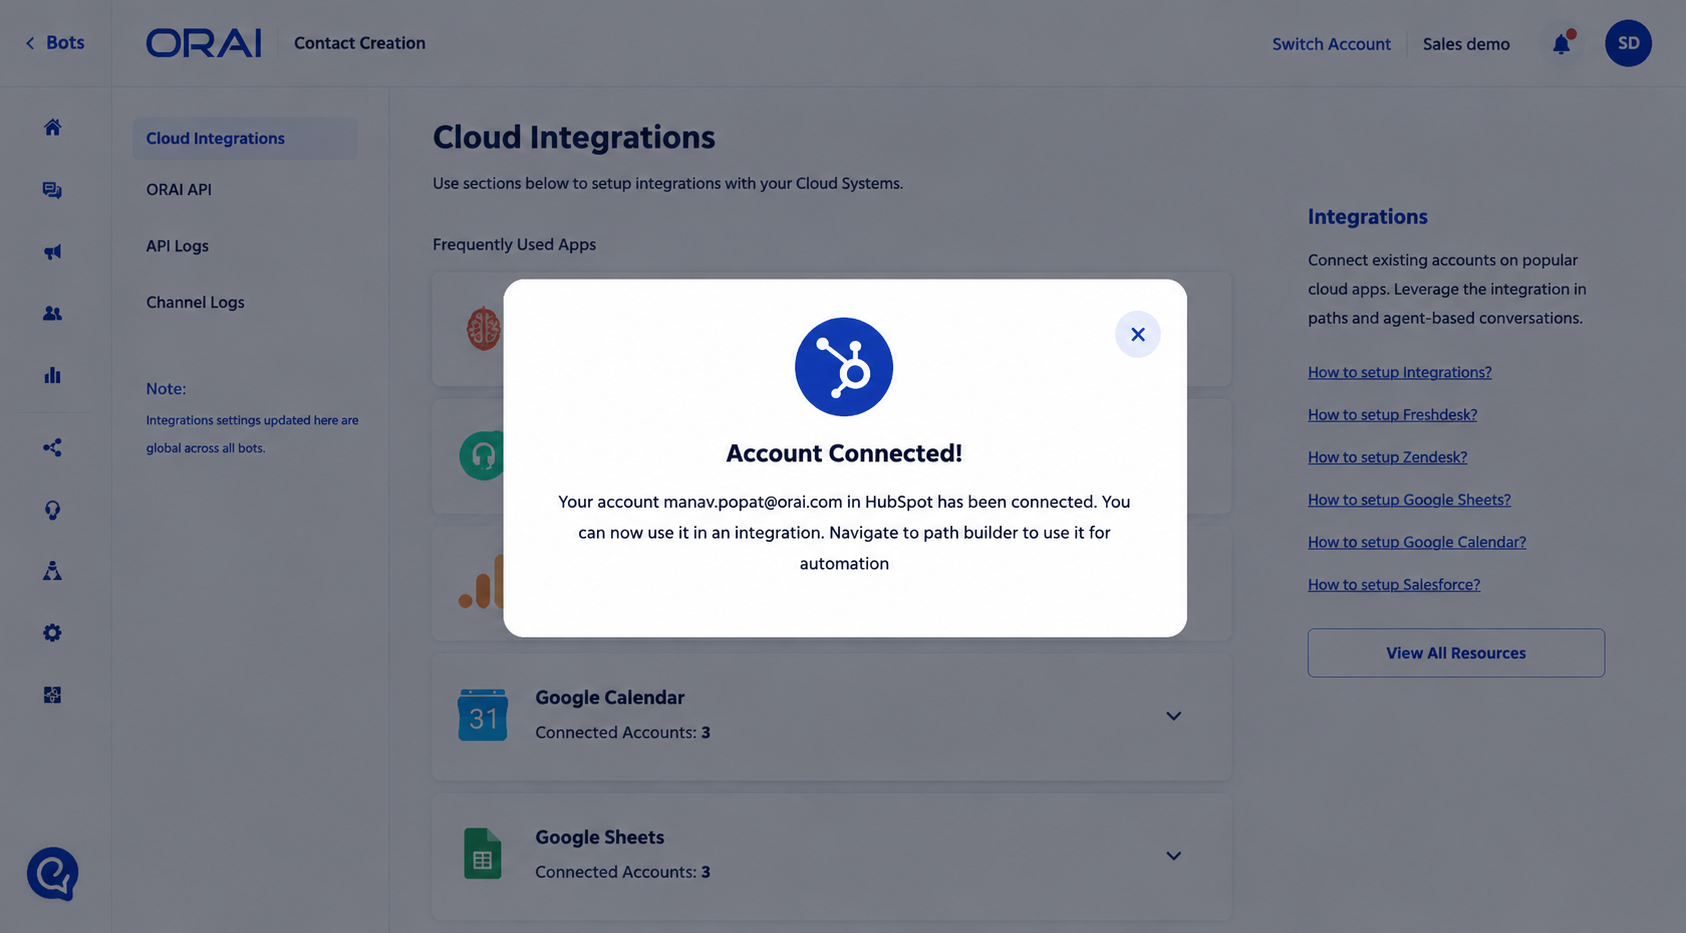 You can find your account listed in the connected account section for verification.
Step 3: Configuring Hubspot Integration Node
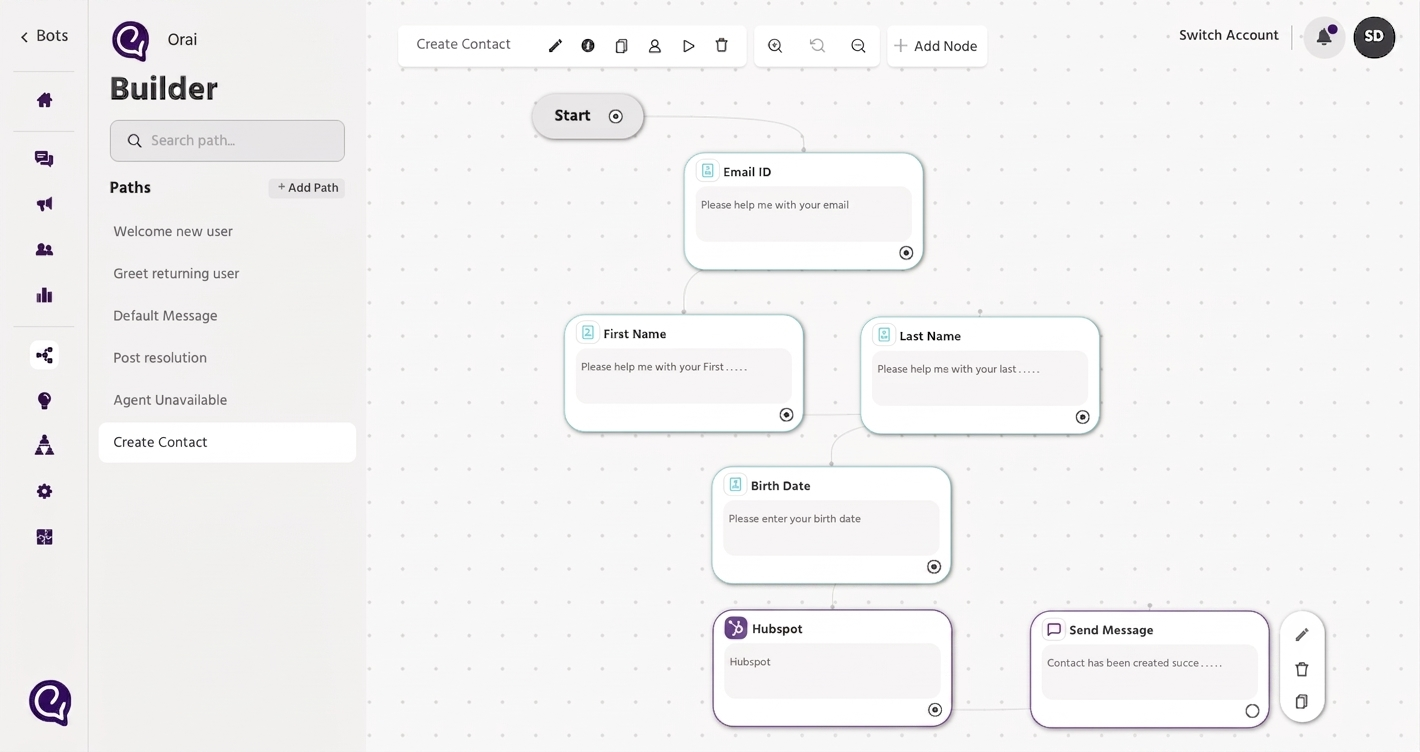
- Navigate to the “Builder” section and choose the path that suits your requirements.
2. Click on “Add Node” to add the Hubspot integration node.
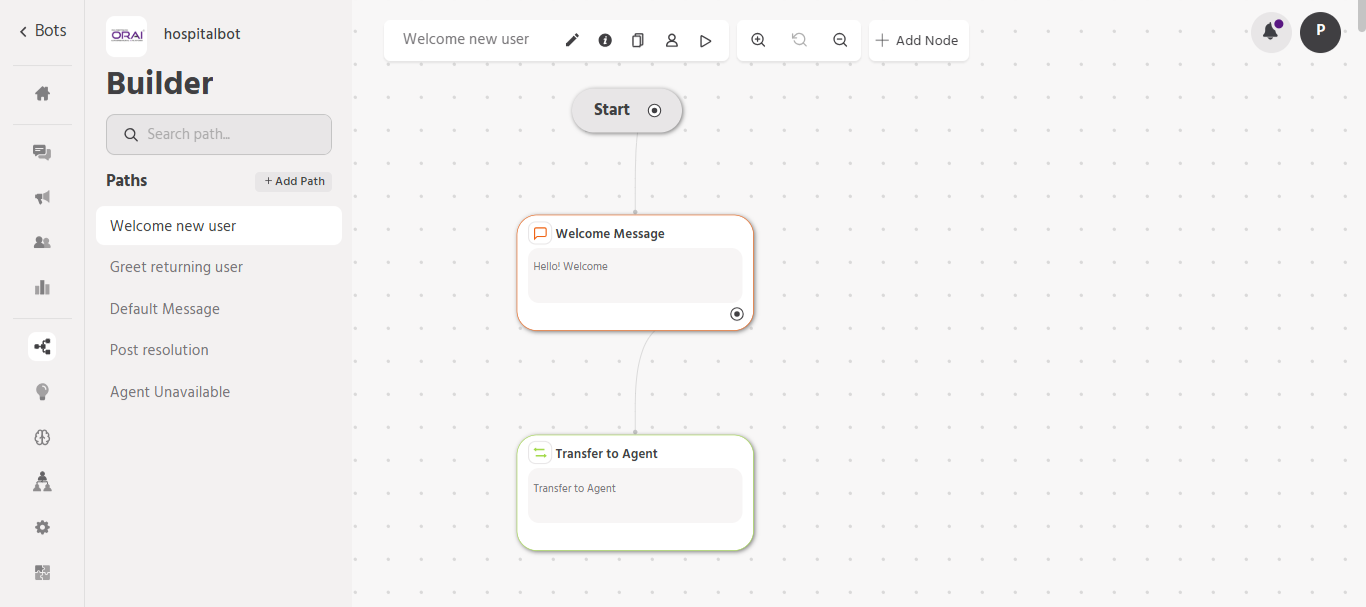
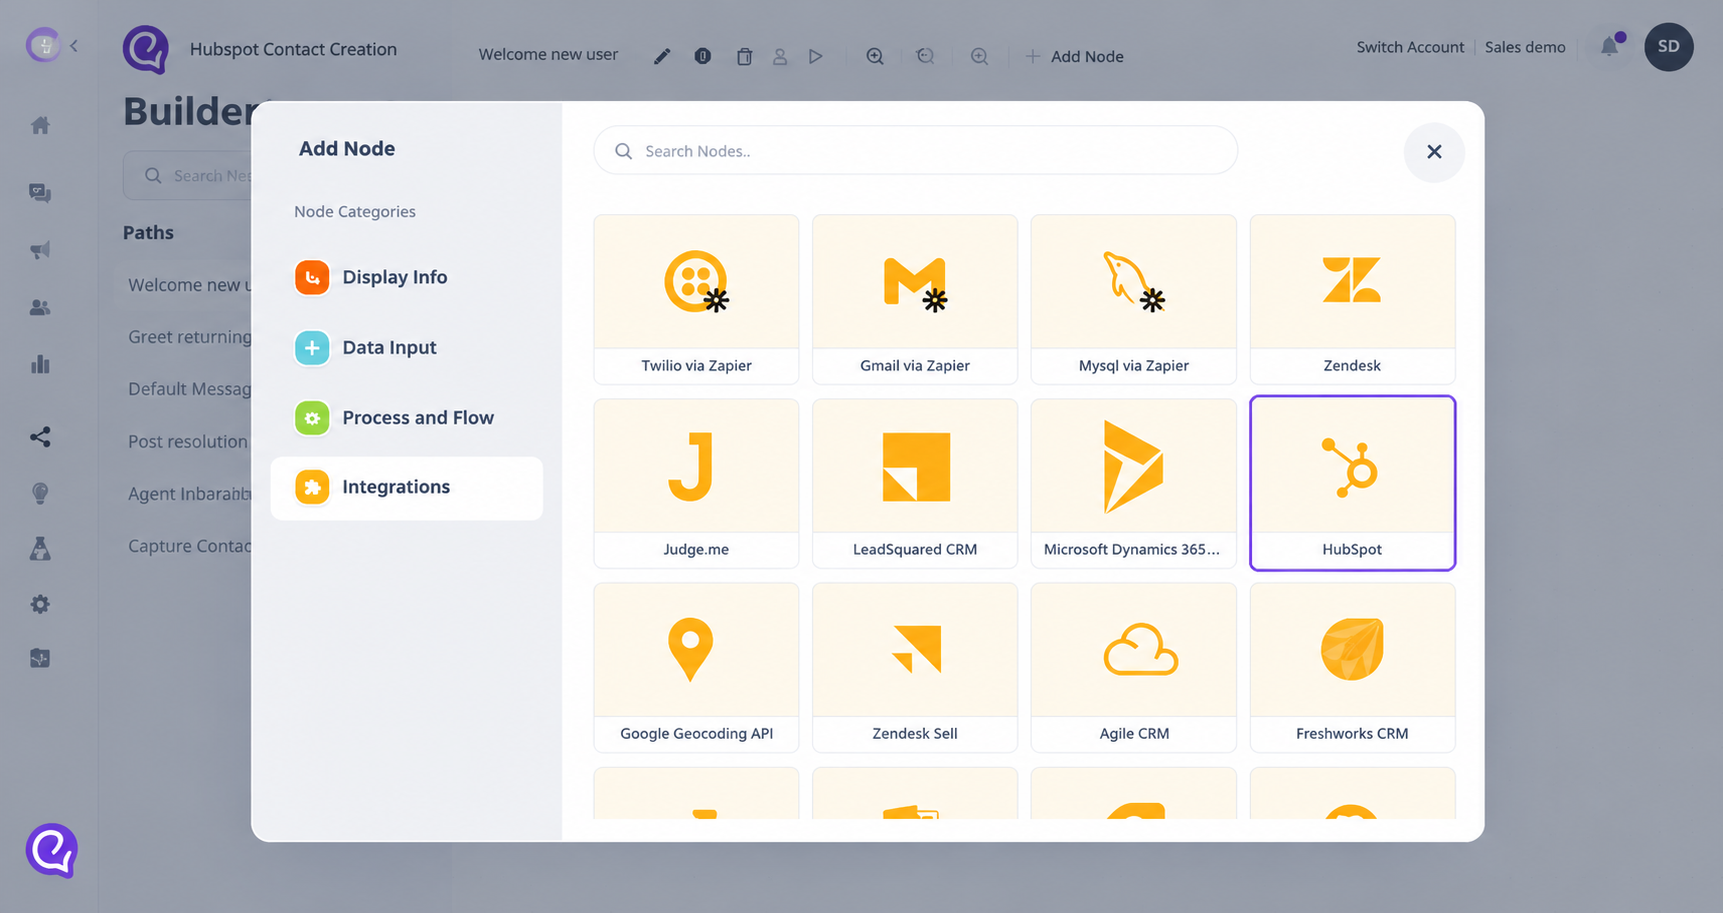
4. Select an action from the dropdown menu based on your specific use case
For our current use case, it is ‘Create Contact’.
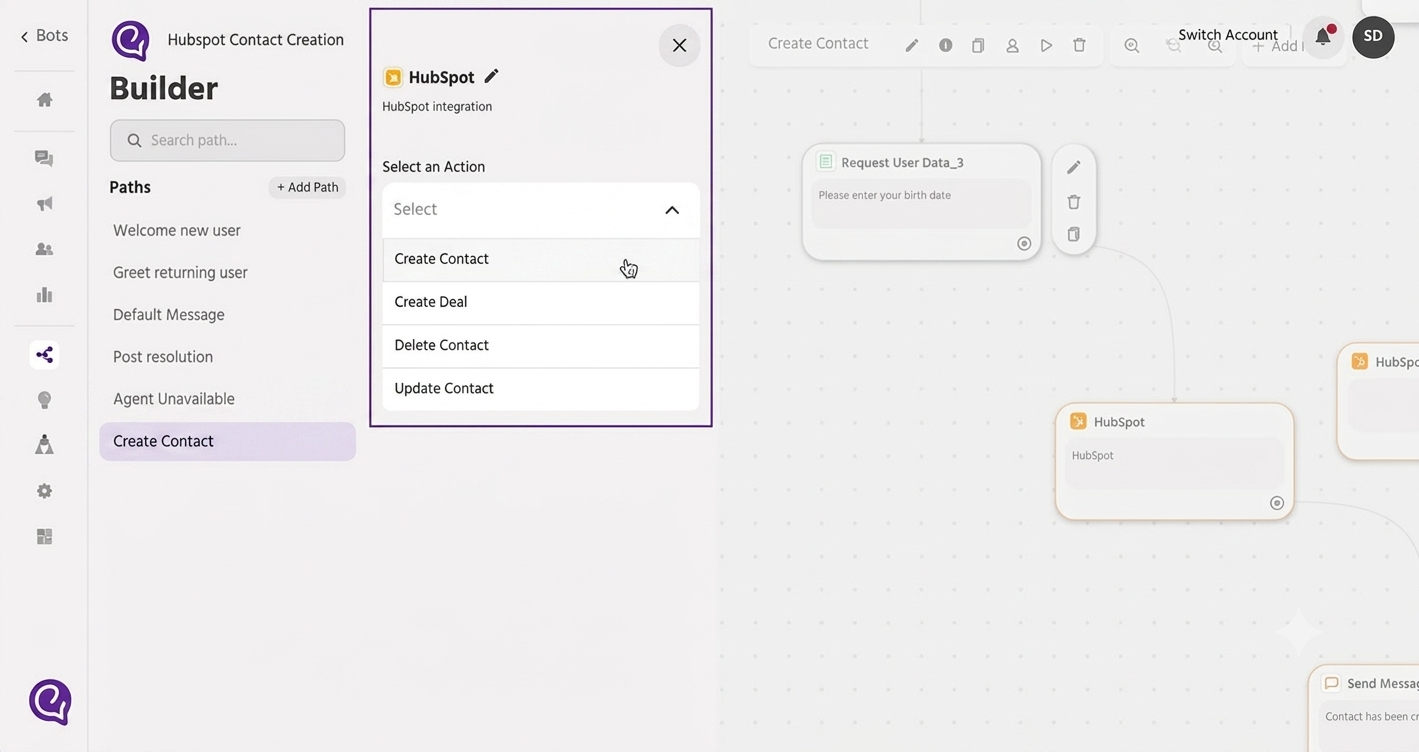
Let’s take a use case of creating a contact:
To pass the user details in Hubspot, let’s start by asking the user for their details using the Request User Data Node.
- Requesting users for their basic information such as email address, first name, last name, etc.
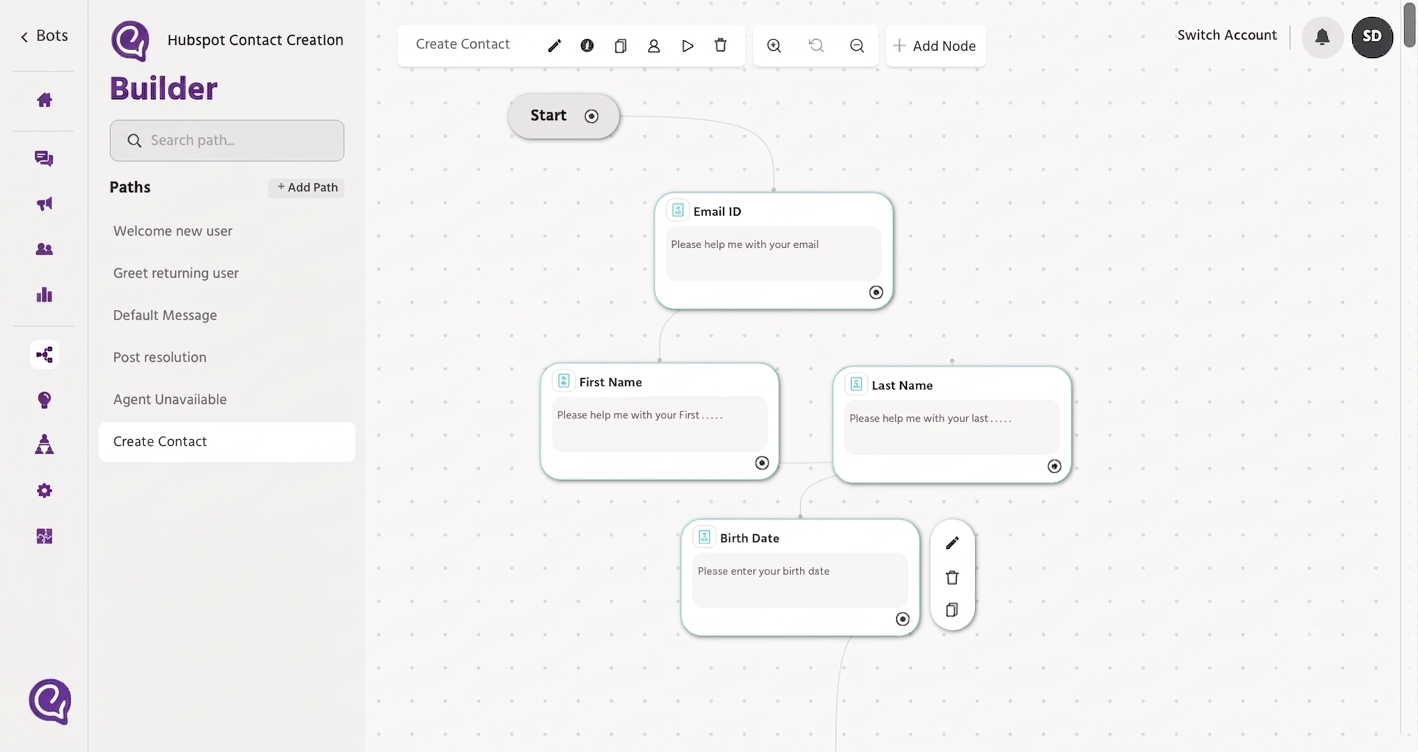
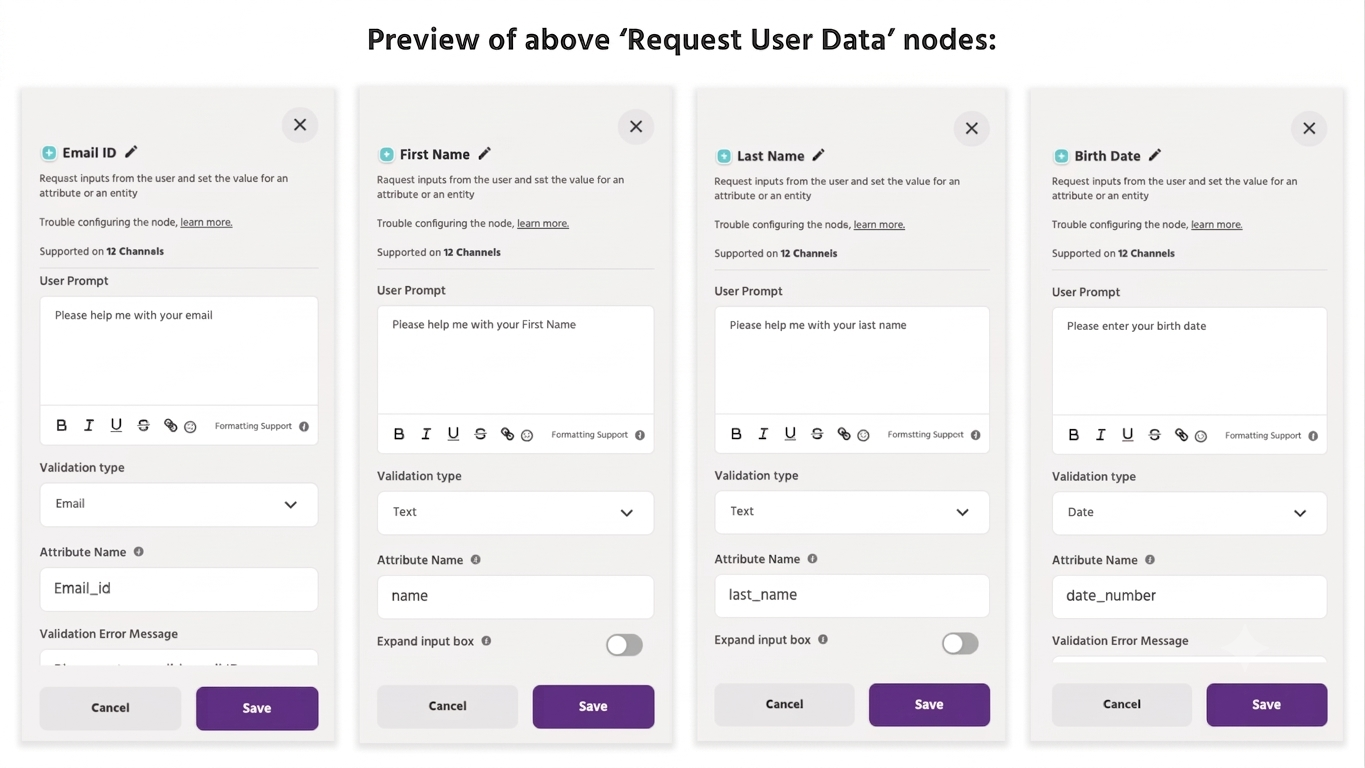
Note: “User Prompt, Attribute Name, and similar fields are entirely customizable. Set their values as per your choice.”
2. After configuring all the ‘Request User Data’ nodes, link the HubSpot node to the final node in your flow.
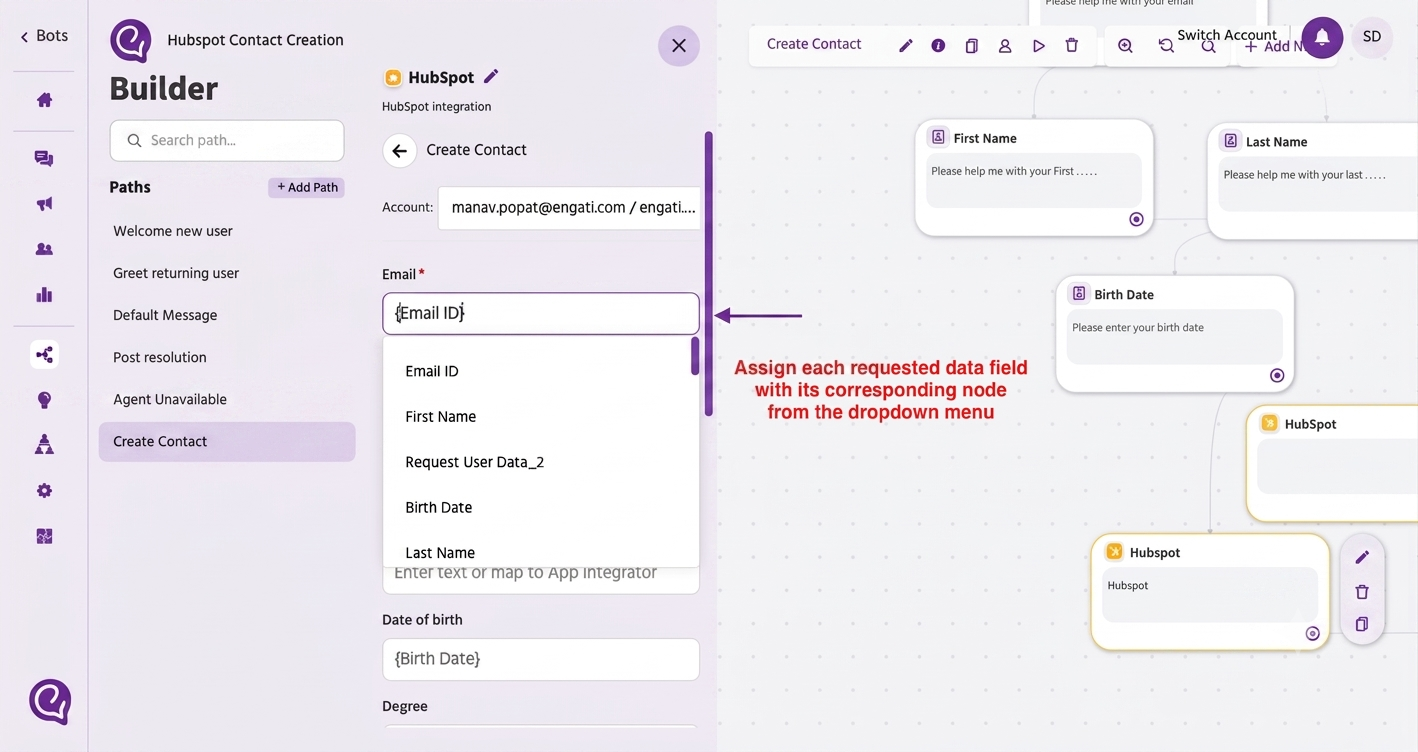
Here’s a preview of the HubSpot node for the use case described above:
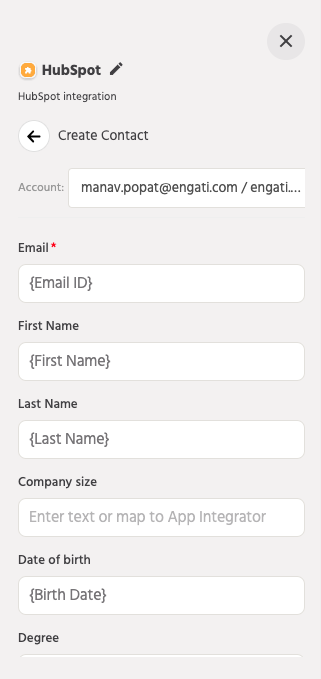
Node connection overview: